User Review
( votes)Introduction
We recently had a business requirement to load data in Dynamics 365 CRM. We had a case where the user will create Account records in a CRM and at the end of the day, it should load records in the other Dynamics 365 CRM. To achieve this we have used the Azure Copy Data Activity tool, also we have configured scheduling on the “Copy Data” tool so it will Upsert records in the target system once a day.
In this blog, we have explained how we have configured the ‘Azure Copy Data Activity’ tool to Load records. So, let’s have a look at the steps we followed to achieve the same.
Step 1: Connect to the Azure https://portal.azure.com and navigate to the Data factory. If you don’t have a Data factory then create it first to use the ‘Copy Data Activity tool’. Please refer to the below link to know how to create a Data factory:
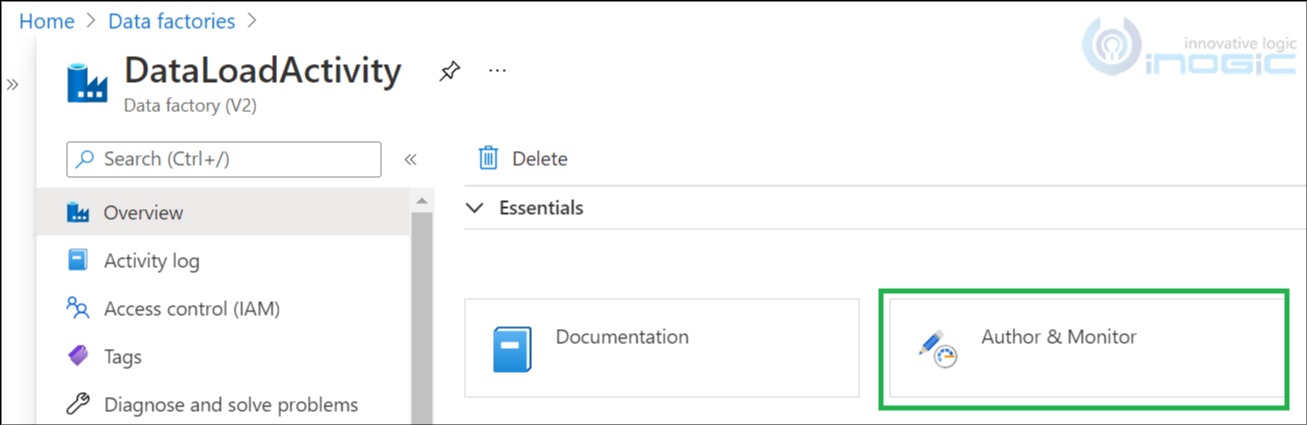
Step 2: We already have a Data factory i.e. “DataLoadActivity”, so we are using that but to add the Copy Data Activity tool, you need to add a pipeline.
DataloadActivity (Data factory) -> Author & Monitor -> Author -> Create new/Existing Pipeline -> Drag and Drop Copy Data.
Please refer to the below screenshots:
Navigate to Author & Monitor
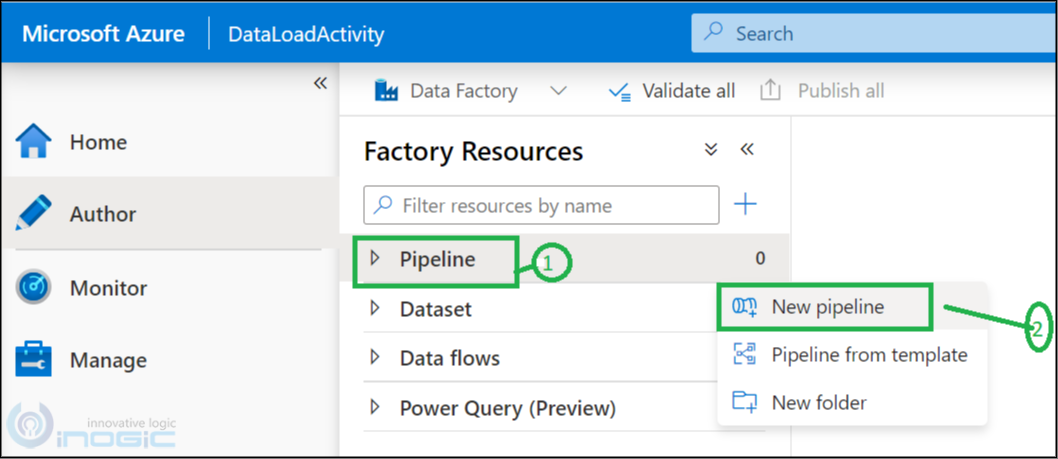
Navigate to Author

Add Pipeline
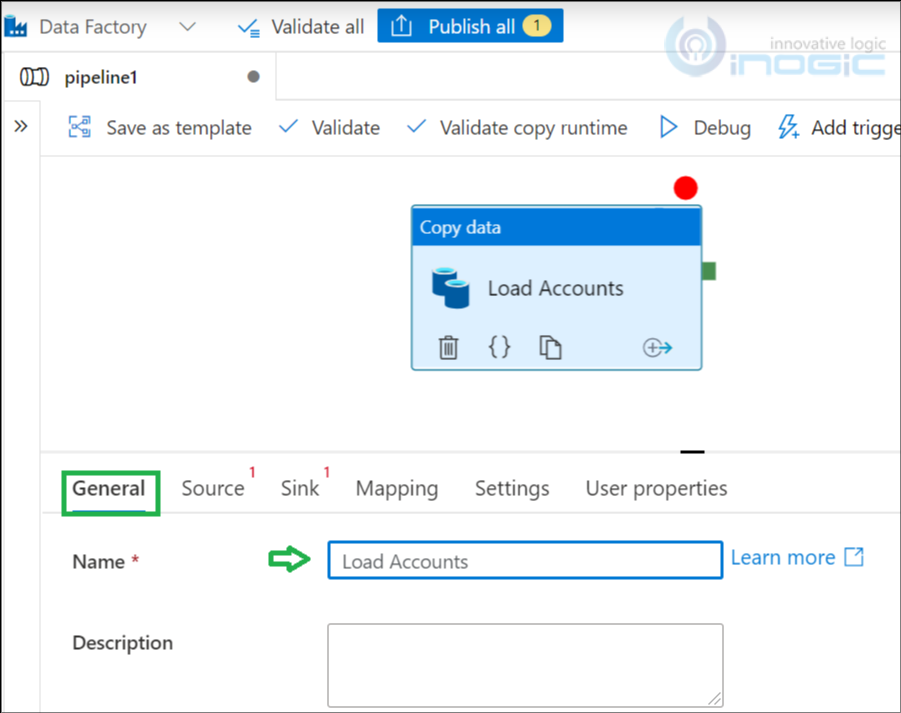
Drag and Drop ‘Copy Data’ tool.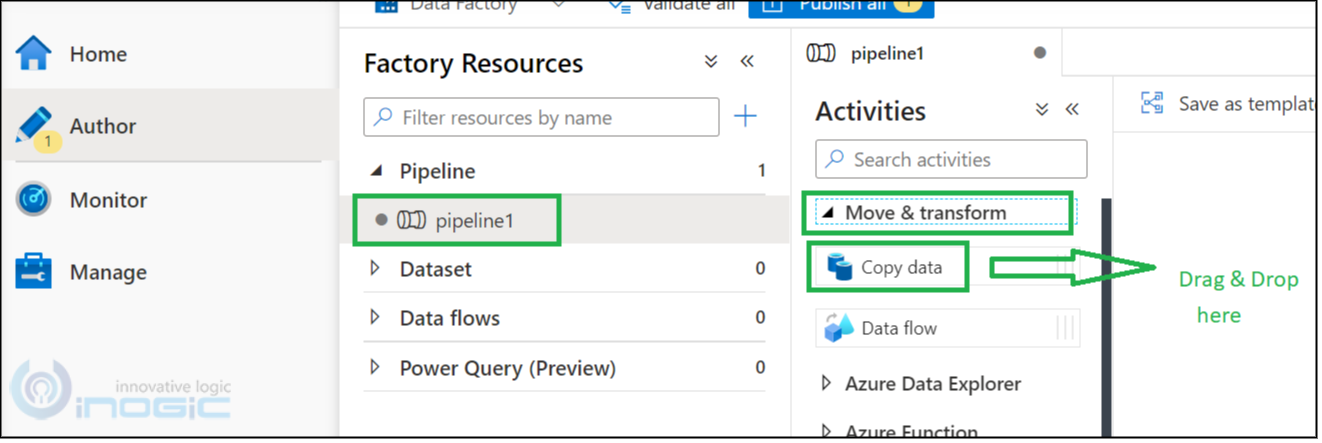
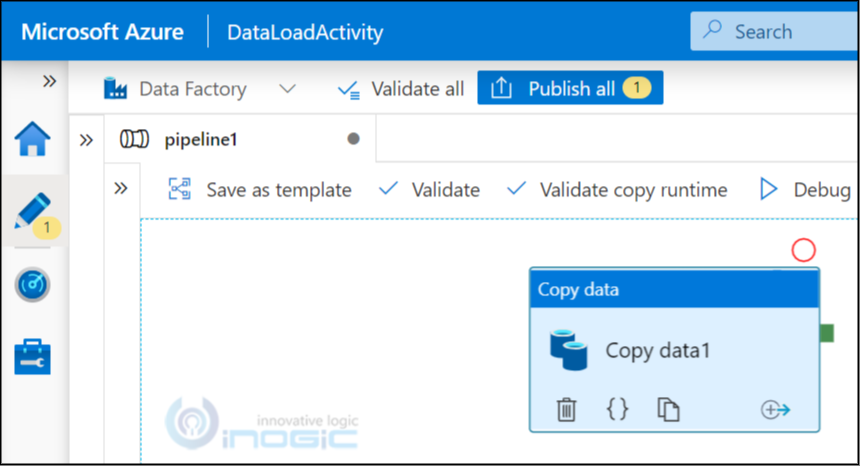
We can change its name from the ‘General tab’, we have renamed it as ‘Load Accounts’.
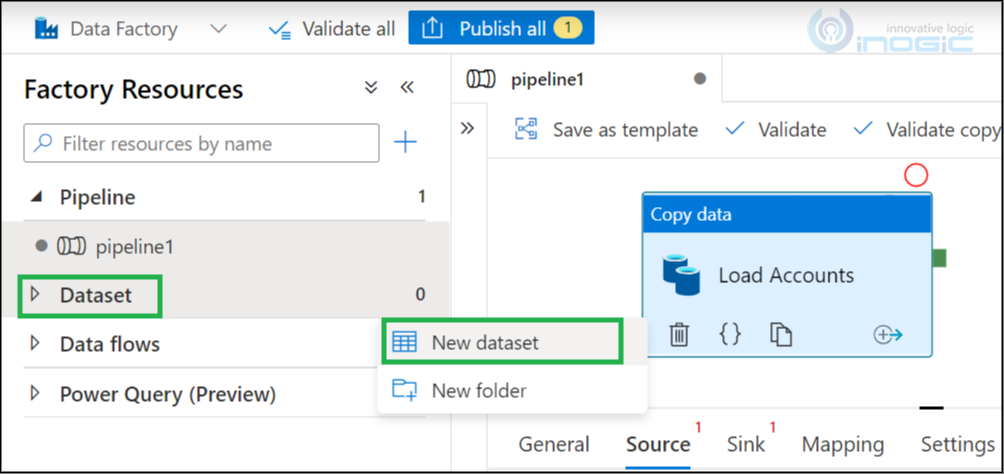
Step 3: In the next step, we need to add a new dataset and configure a connection with Dynamics 365 CRM. To configure the dataset, we need to click on the Dataset menu and add New Dataset as shown below:
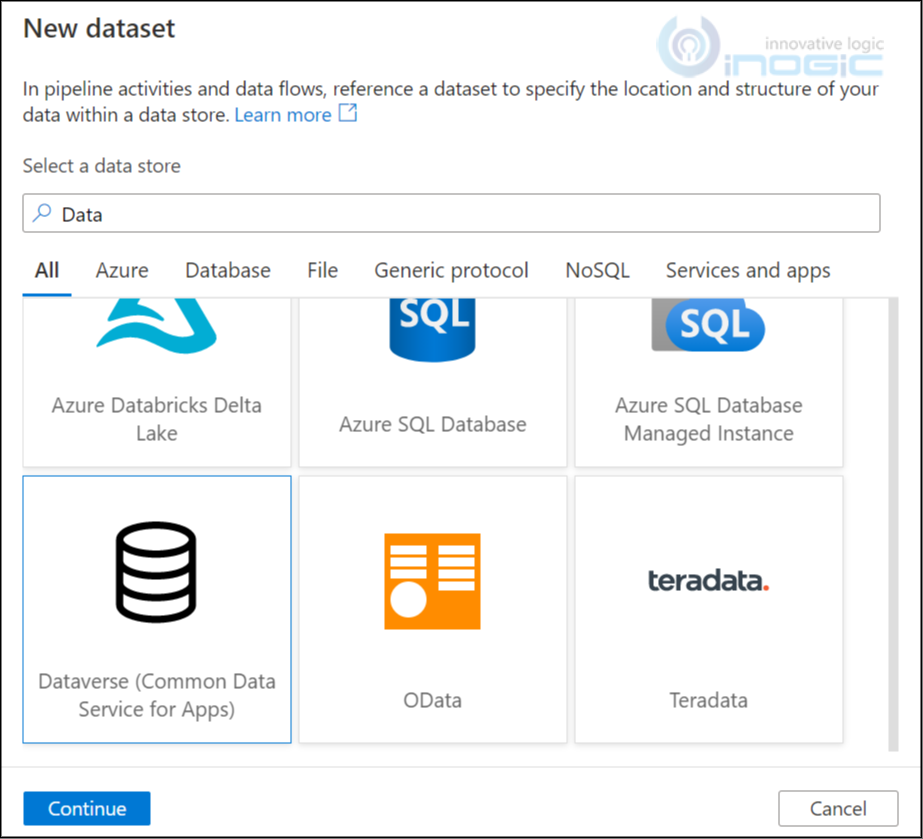
It will open the Data Stores window. Here we need to select Dataverse (Common data service for app) and click on continue.
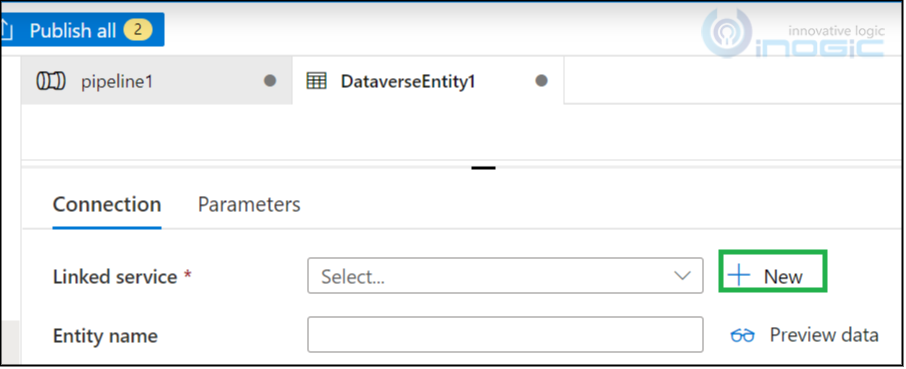
Once the dataset is added, we need to add link services. To add link services, click on the +New button and it will open another window where we need to set CRM connection details.
Here, we need to pass details i.e., Name, Service Url, Authentication type(AAD Service Principal), Service Principal Id(Azure Active directory App Id) and service principal key(secret key) details. And after the ‘Test connection’, click on Create.
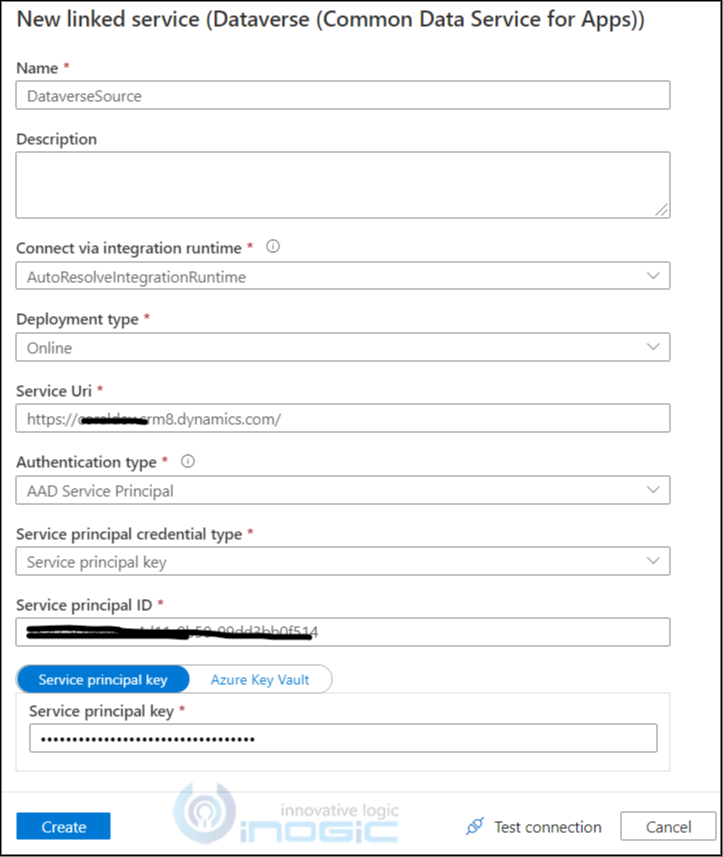
- Name: Connection name
- Connect via integration runtime: AutoResolveintegrationruntime
- Deployment Type: It has two options i.e. Online and OnpremisewithIfd. As we are connecting to Dynamics 365 CRM online, so need to select online.
- Service uri: Dynamics 365 CRM url
- Authentication Type: It has 2 options i.e. AAD service Principal and office365. Need to select ‘AAD service Principal’ option. FYI, office365 is deprecated now.
- Service Principal credential type: Select ‘service principal key’ and then it will ask to enter Azure Active directory App Id and secret key.
- Service Principal ID: Need to pass Azure Active Directory Application(client) Id.
- Service Principal Key: Need to pass Azure Active Directory Secret key.
To establish a connection, you must have Azure Active Directory and use the App Id and secret key from the Azure Active Directory app. You can refer to the below article to know about how to configure/create Azure Active Directory app:
https://www.inogic.com/blog/create-azure-active-directory-app
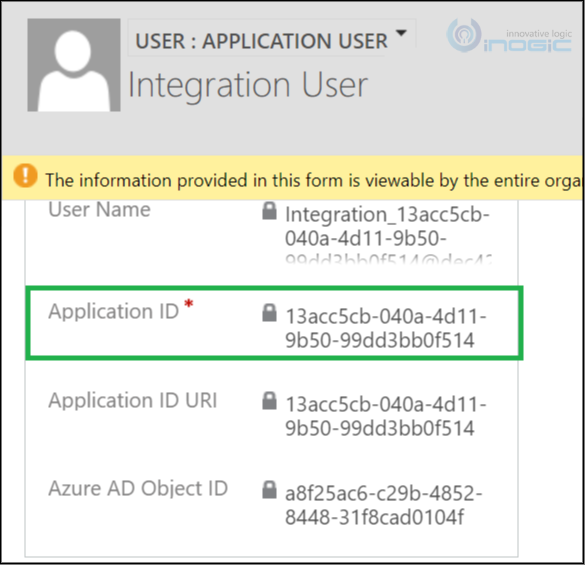
Once Azure Active Directory app is configured, you need to create an Application user in CRM. To configure the Application user, we need to pass Azure Active Directory Application ID (App Id) as shown below:
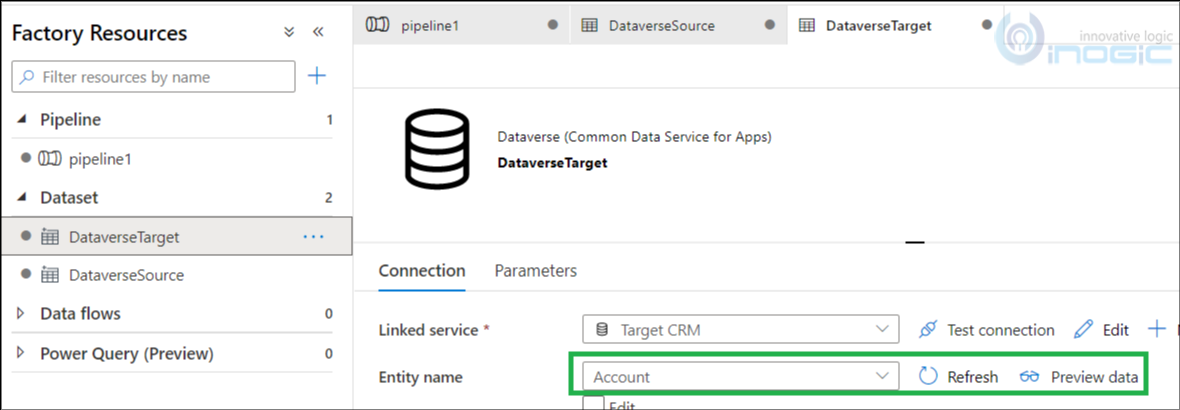
After this, we need to select the table name under connection. As we want to load data for the Account table so here we select the Account table. Using the same way, we have set up a dataset/connection for both Source and Target CRMs.
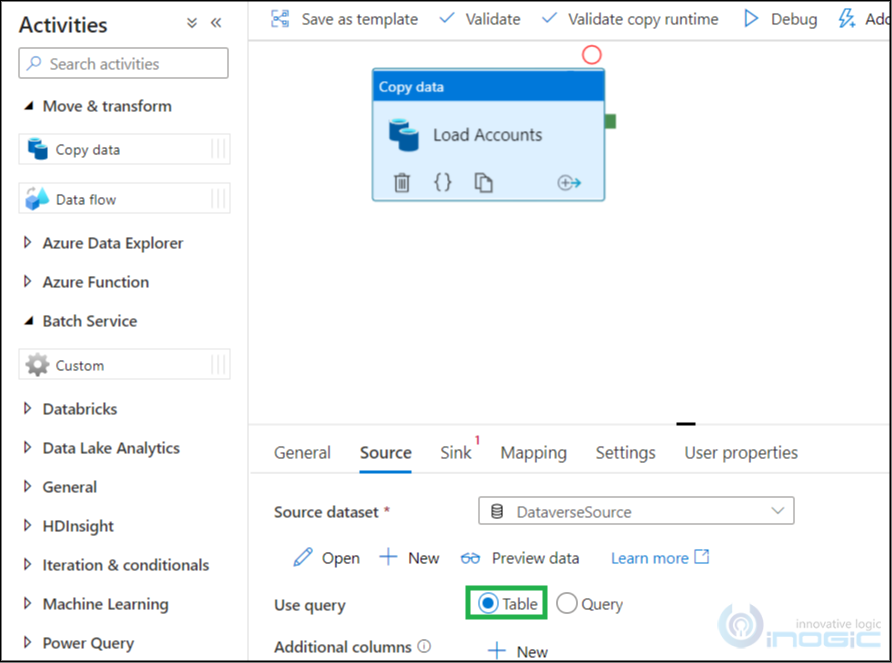
Step 4: Now, we can set up the “Copy Data” tool. In the first step, we need to set up a Source detail, as shown below. Here, we have selected a table but as per the requirement, we can also select Query and pass the fetchxml query.
Step 5: Next, we need to set up Sink details. Here we have selected Target CRM and selected behavior as Upsert. Also, it has other properties i.e. to ignore null values, perform upsert based on Alternate key, etc.
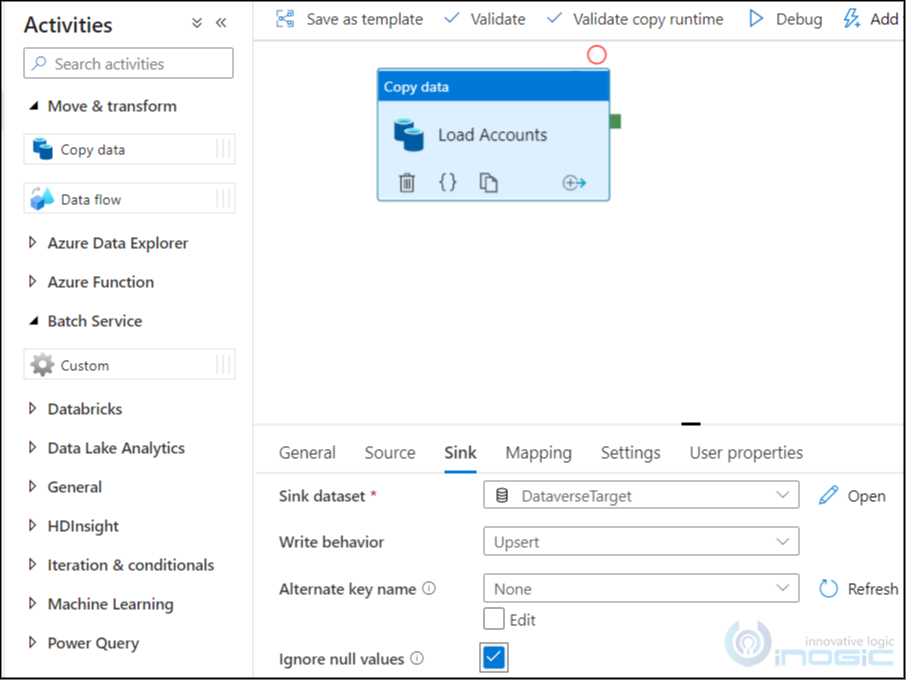
Note: If you don’t want to upsert the record based on the Primary key field (i.e., accountid) then you can use the Alternate key property. You need to set an alternate key in your target CRM table field and then the alternate key will display here under the Alternate key name list.
Please refer to the below article to know how we can configure alternate key in CRM:
Step 6: Once Sink details are configured, we need to set field mapping as shown below:
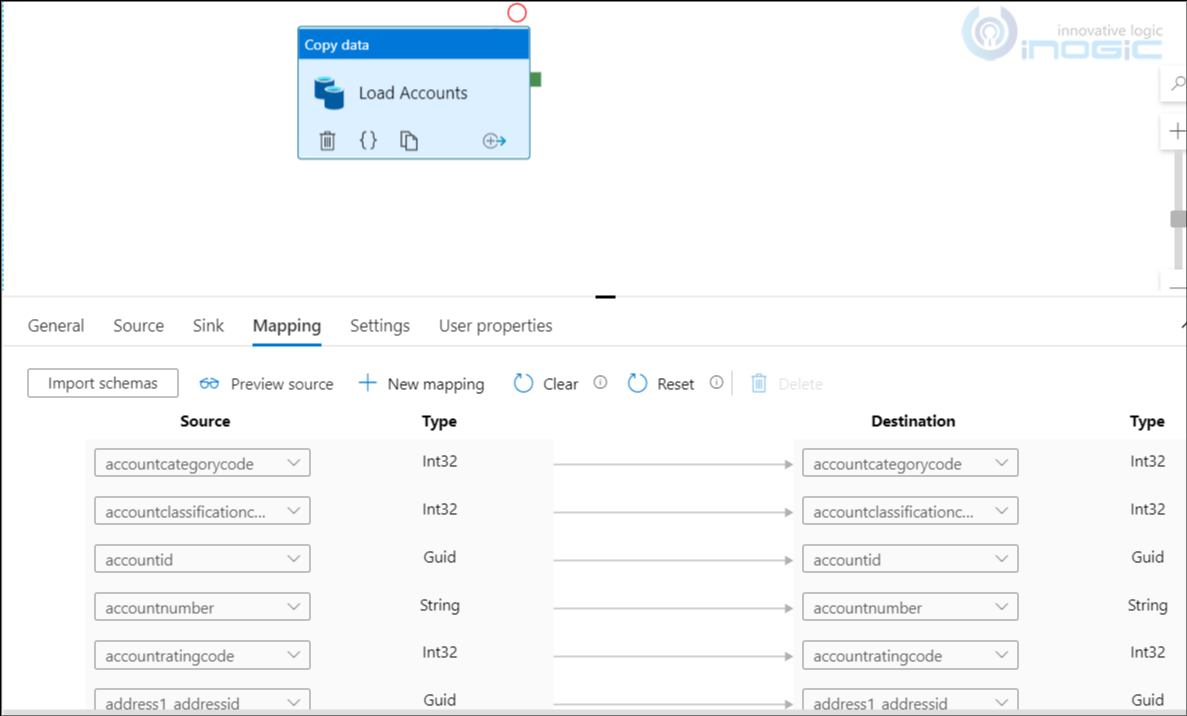
Note: If you don’t see mapping fields, please click on Import Schemas.
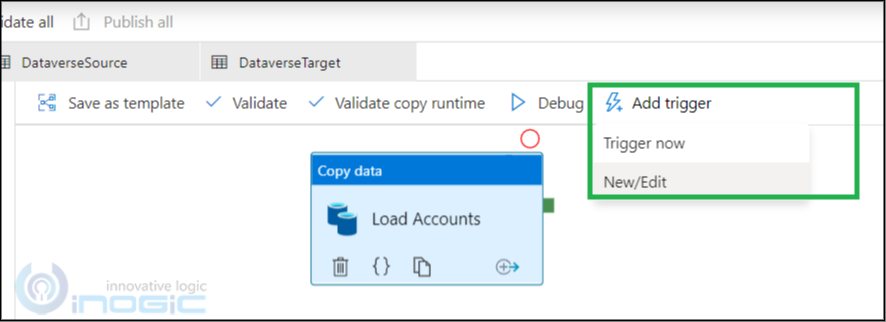
Step 7: We can also add a trigger and configure scheduling to trigger the ‘Copy Data’ tool.
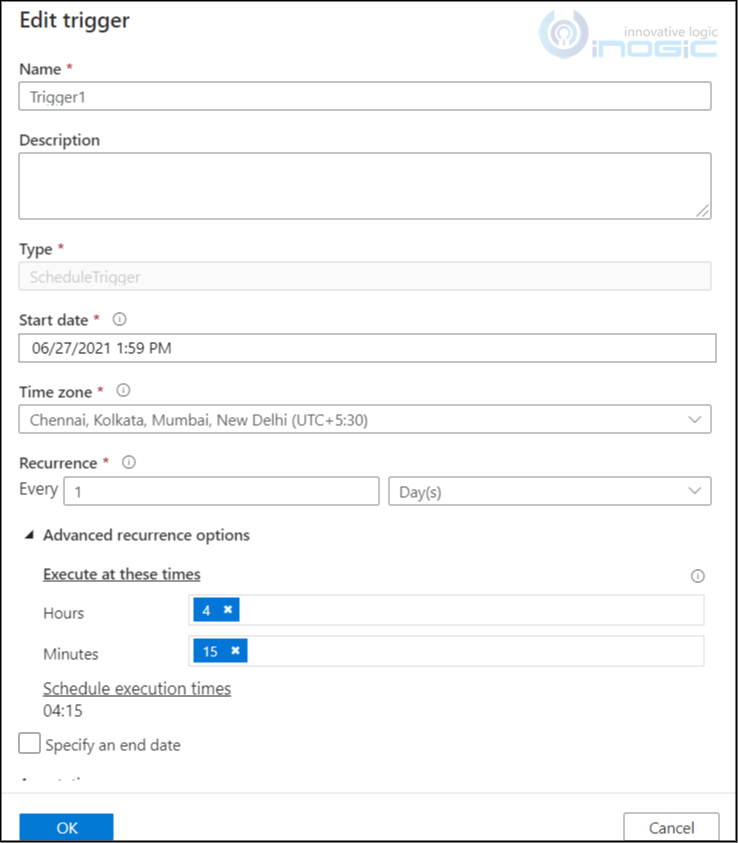
It has multiple options to set trigger i.e., minutes/hourly/day/week. As per our requirement, we have set it to Day(s), as shown in the below screenshot
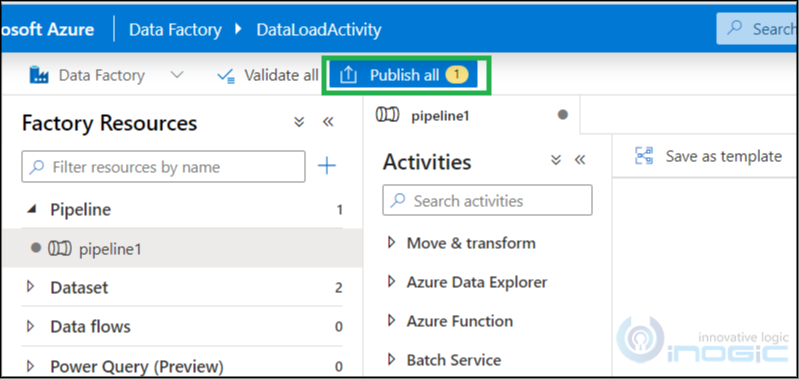
Step 8: Publish all.
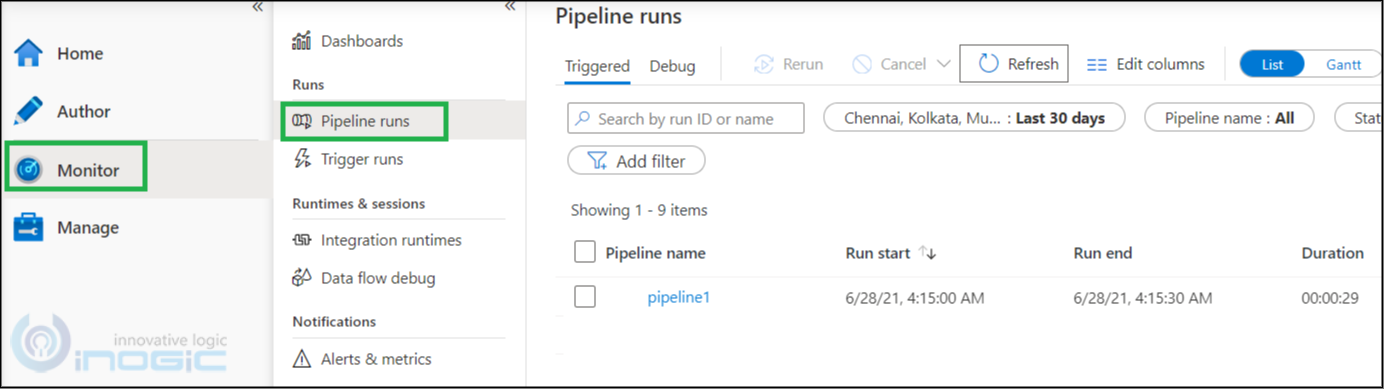
We can also monitor the run history. To check the run history please navigate to Monitor -> Pipeline run.
Also, we can run the pipeline by clicking on Debug without setting any Trigger, please refer to the below screenshot:

Note: I couldn’t get the option/behaviour to perform only Update operation instead of using Upsert.
Conclusion:
As illustrated above, with the help of Azure Copy Data Activity tool, we can load data in Dynamics 365 CRM.
Reference link: https://docs.microsoft.com/en-us/azure/data-factory/quickstart-create-data-factory-copy-data-tool#start-the-copy-data-tool
